Embrace the Future: Transforming Connections with NFC Business Cards
In a world that's increasingly digital and environmentally conscious, NFC (Near Field Communication) business cards represent the next evolution in networking. Traditional business cards, although familiar, are limited in their functionality and can often end up misplaced, discarded, or damaging the environment.
Enter NFC business cards, a game-changer for modern professionals. Imagine not being constrained by the space on a piece of cardstock. With an NFC card, you can share comprehensive contact details, website links, your portfolio, or even multimedia presentations - all stored digitally and accessed with a simple tap. No more wasted paper, no more bulky cardholders, and an impressive touch of tech-savvy sophistication every time you network.
One of the greatest advantages of NFC cards is their reusability. Traditional cards are single-use and require constant reprinting. In contrast, NFC cards can be updated with new information as your career evolves, making them an economical and environmentally friendly choice.
Best of all, you can create your own NFC business cards at a fraction of what you might expect to pay. It's a one-time investment for a tool that continually adapts to your professional journey. Embrace the innovative way to connect and leave a lasting impression with NFC business cards!
So how do you make one for yourself? Well, let me show you! Before we get started, please note that there are different types of NFC cards out there, including small stickers! Additionally, my example will show you to link the NFC card to a “Bio” link.
Acquire a NFC Card
You can purchase an NFC card through our friends at Amazon by searching “NFC Cards” or via this link. The one I picked up specific are these:

Generic NFC Cards
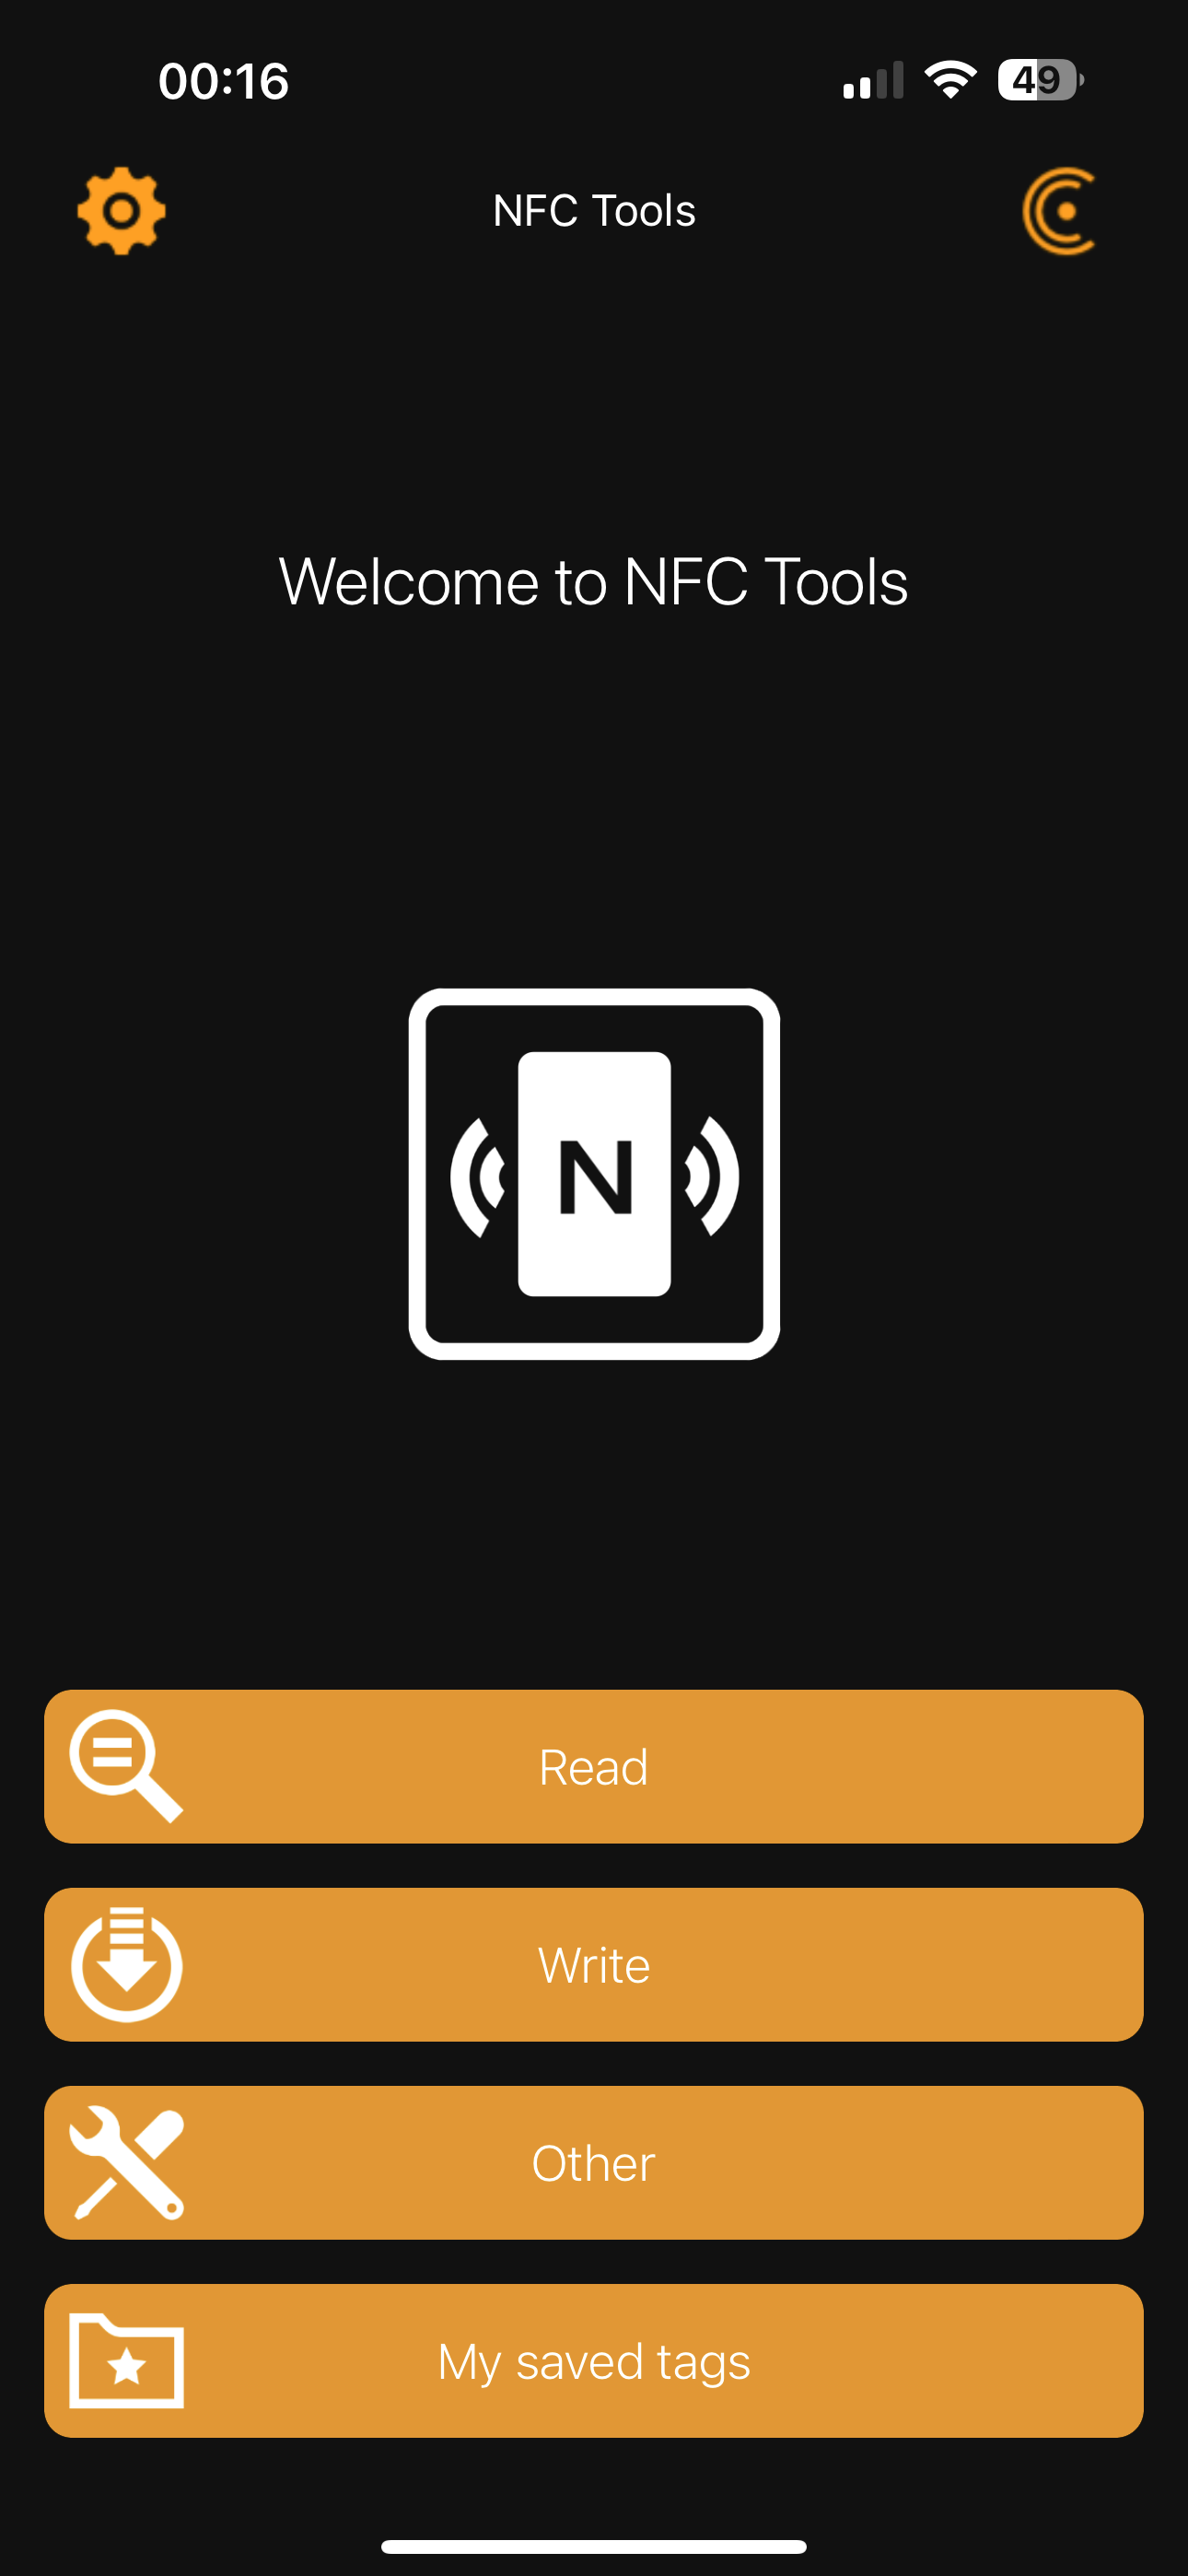
Once your NFC cards arrive, you’ll need an app that will allow you to write to the NFC card. The app I am using is “NFC Tools”. It’s a free tool and it is quite easy to use, you can find it via Apple Appstore or Android Marketplace.
Once you’ve installed the app, below are the next easy steps to do to write to an NFC card from the app:
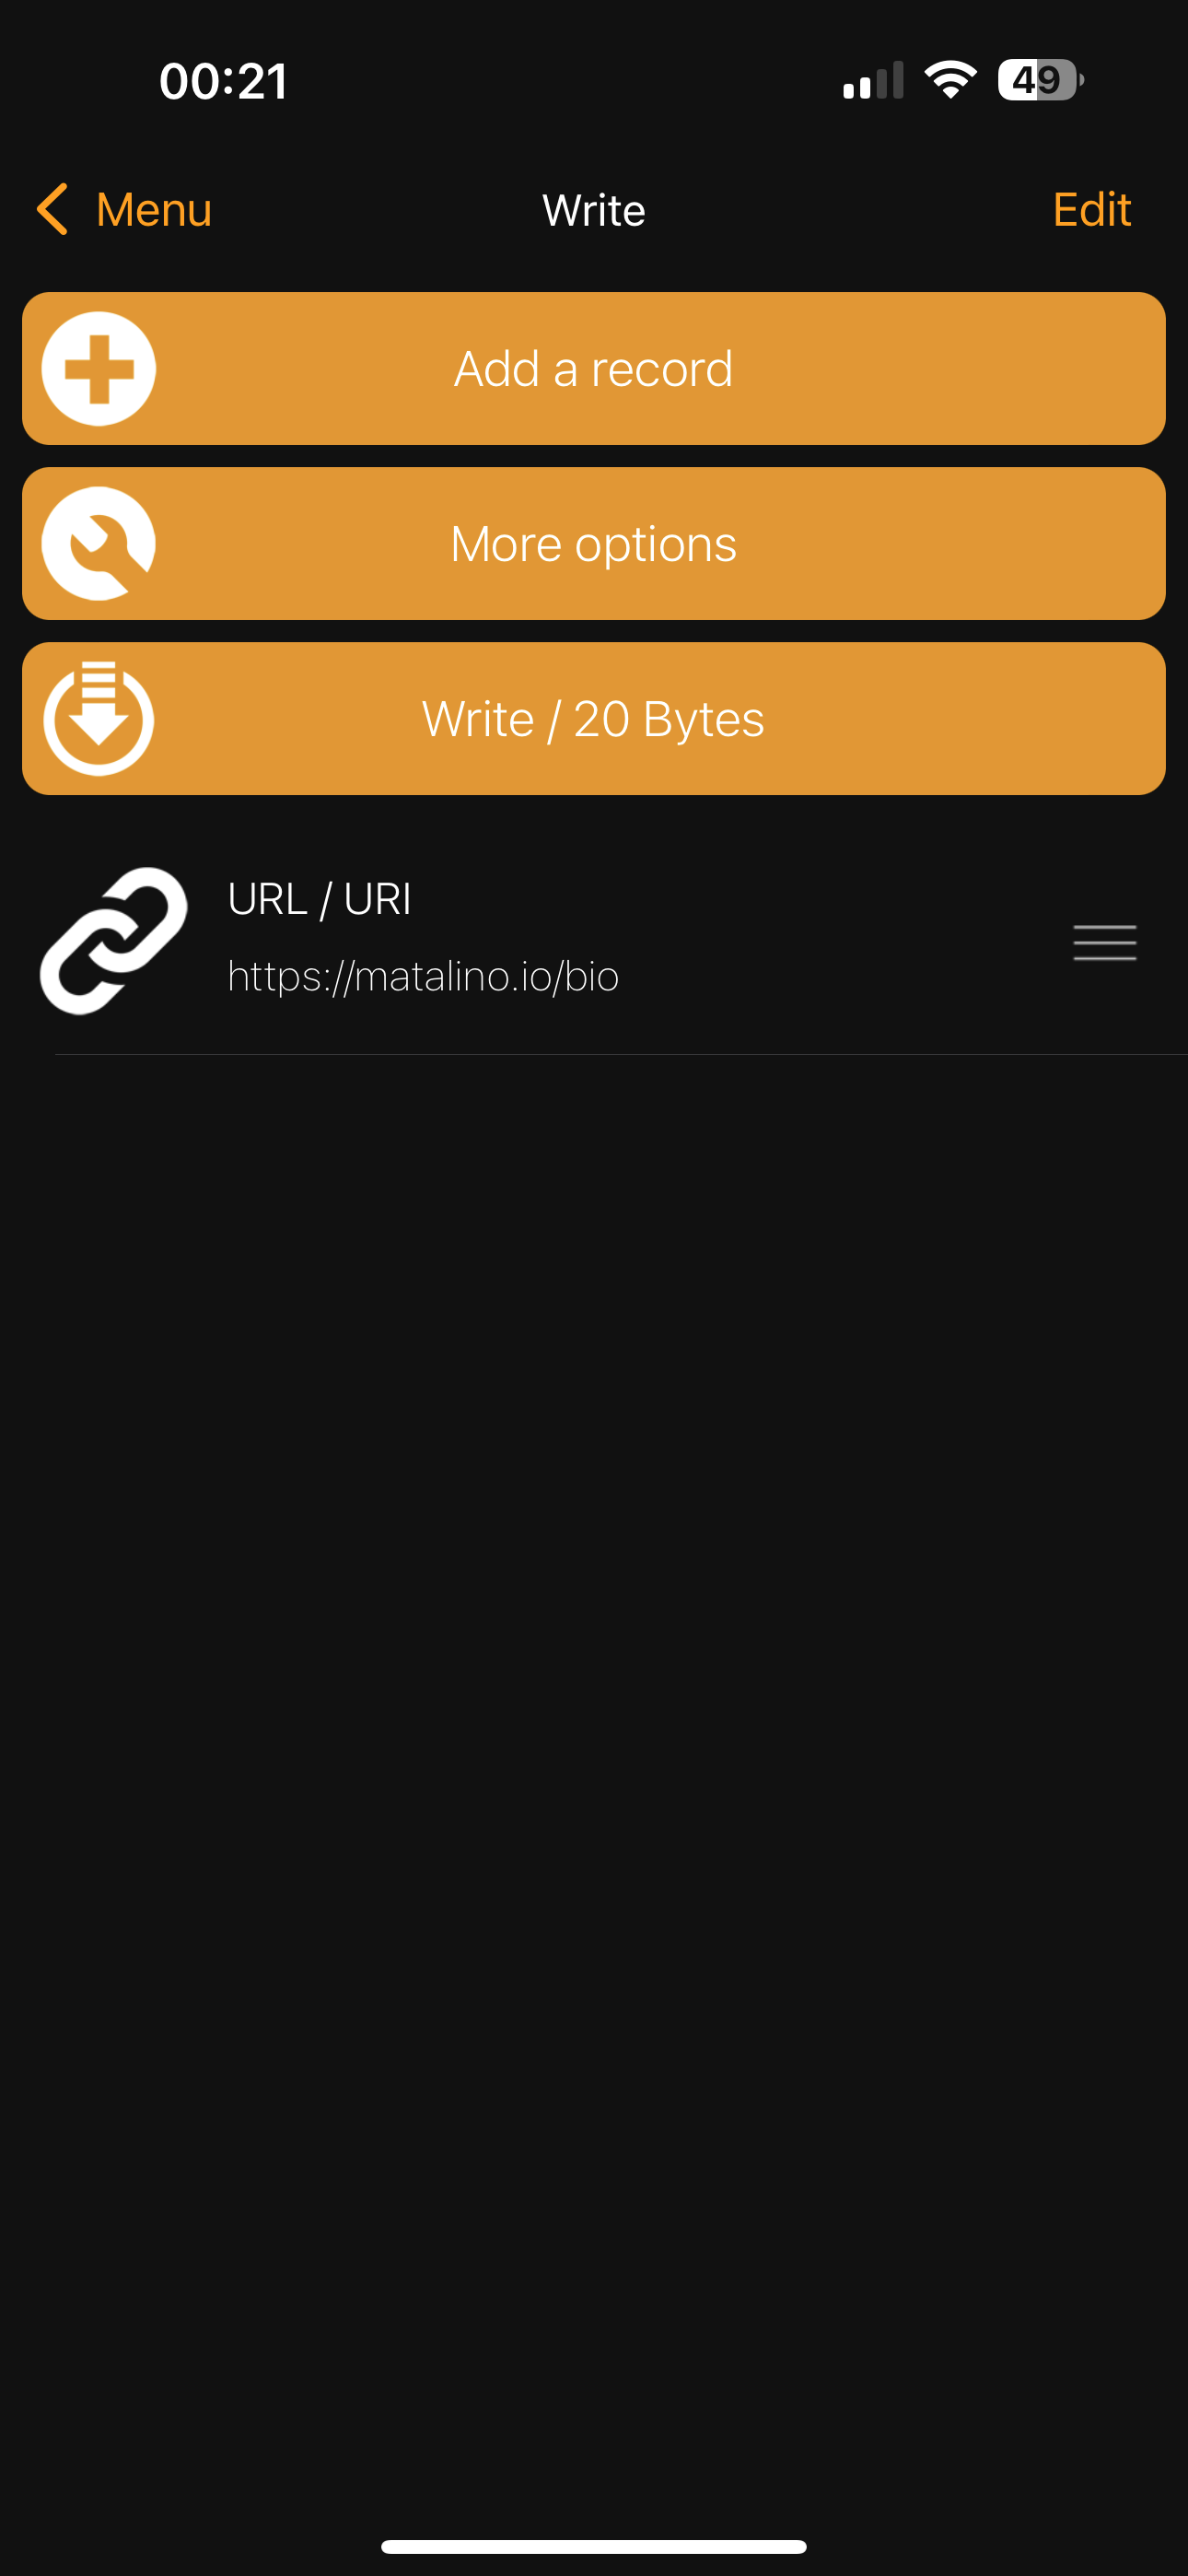
Choose "“Write”.
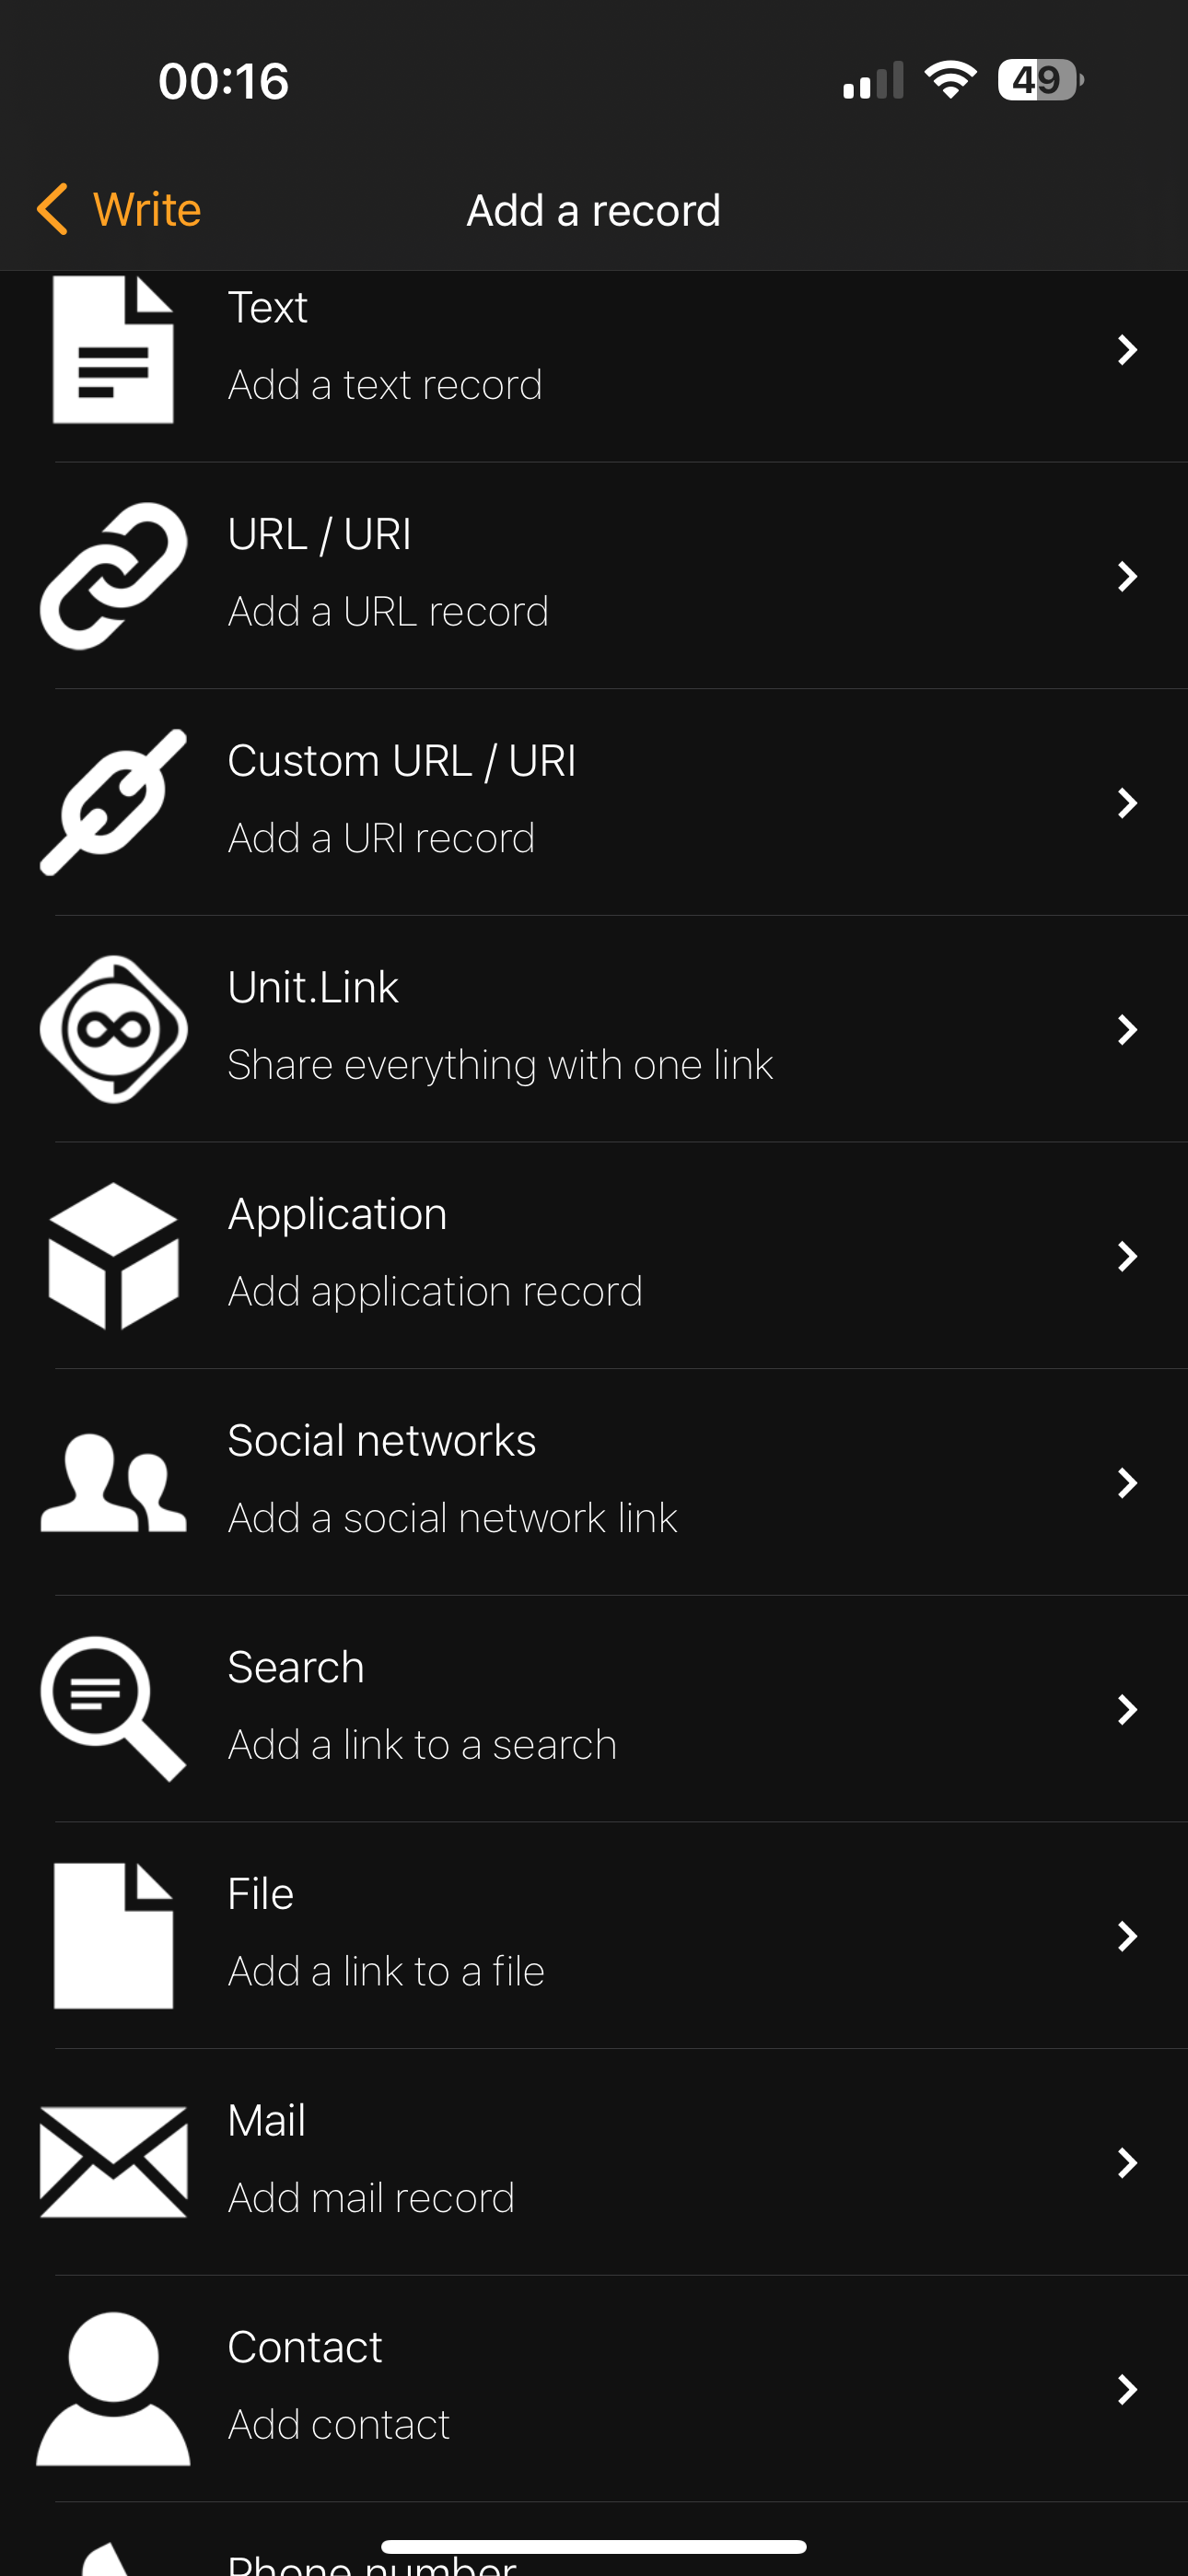
Choose what type of record you want to write to the NFC card. In my example, I will be using the URL/URI to my Bio Link that I created within my own website. Note: You can also use other third-party tools to create your bio, for example link.tree or bio.link.
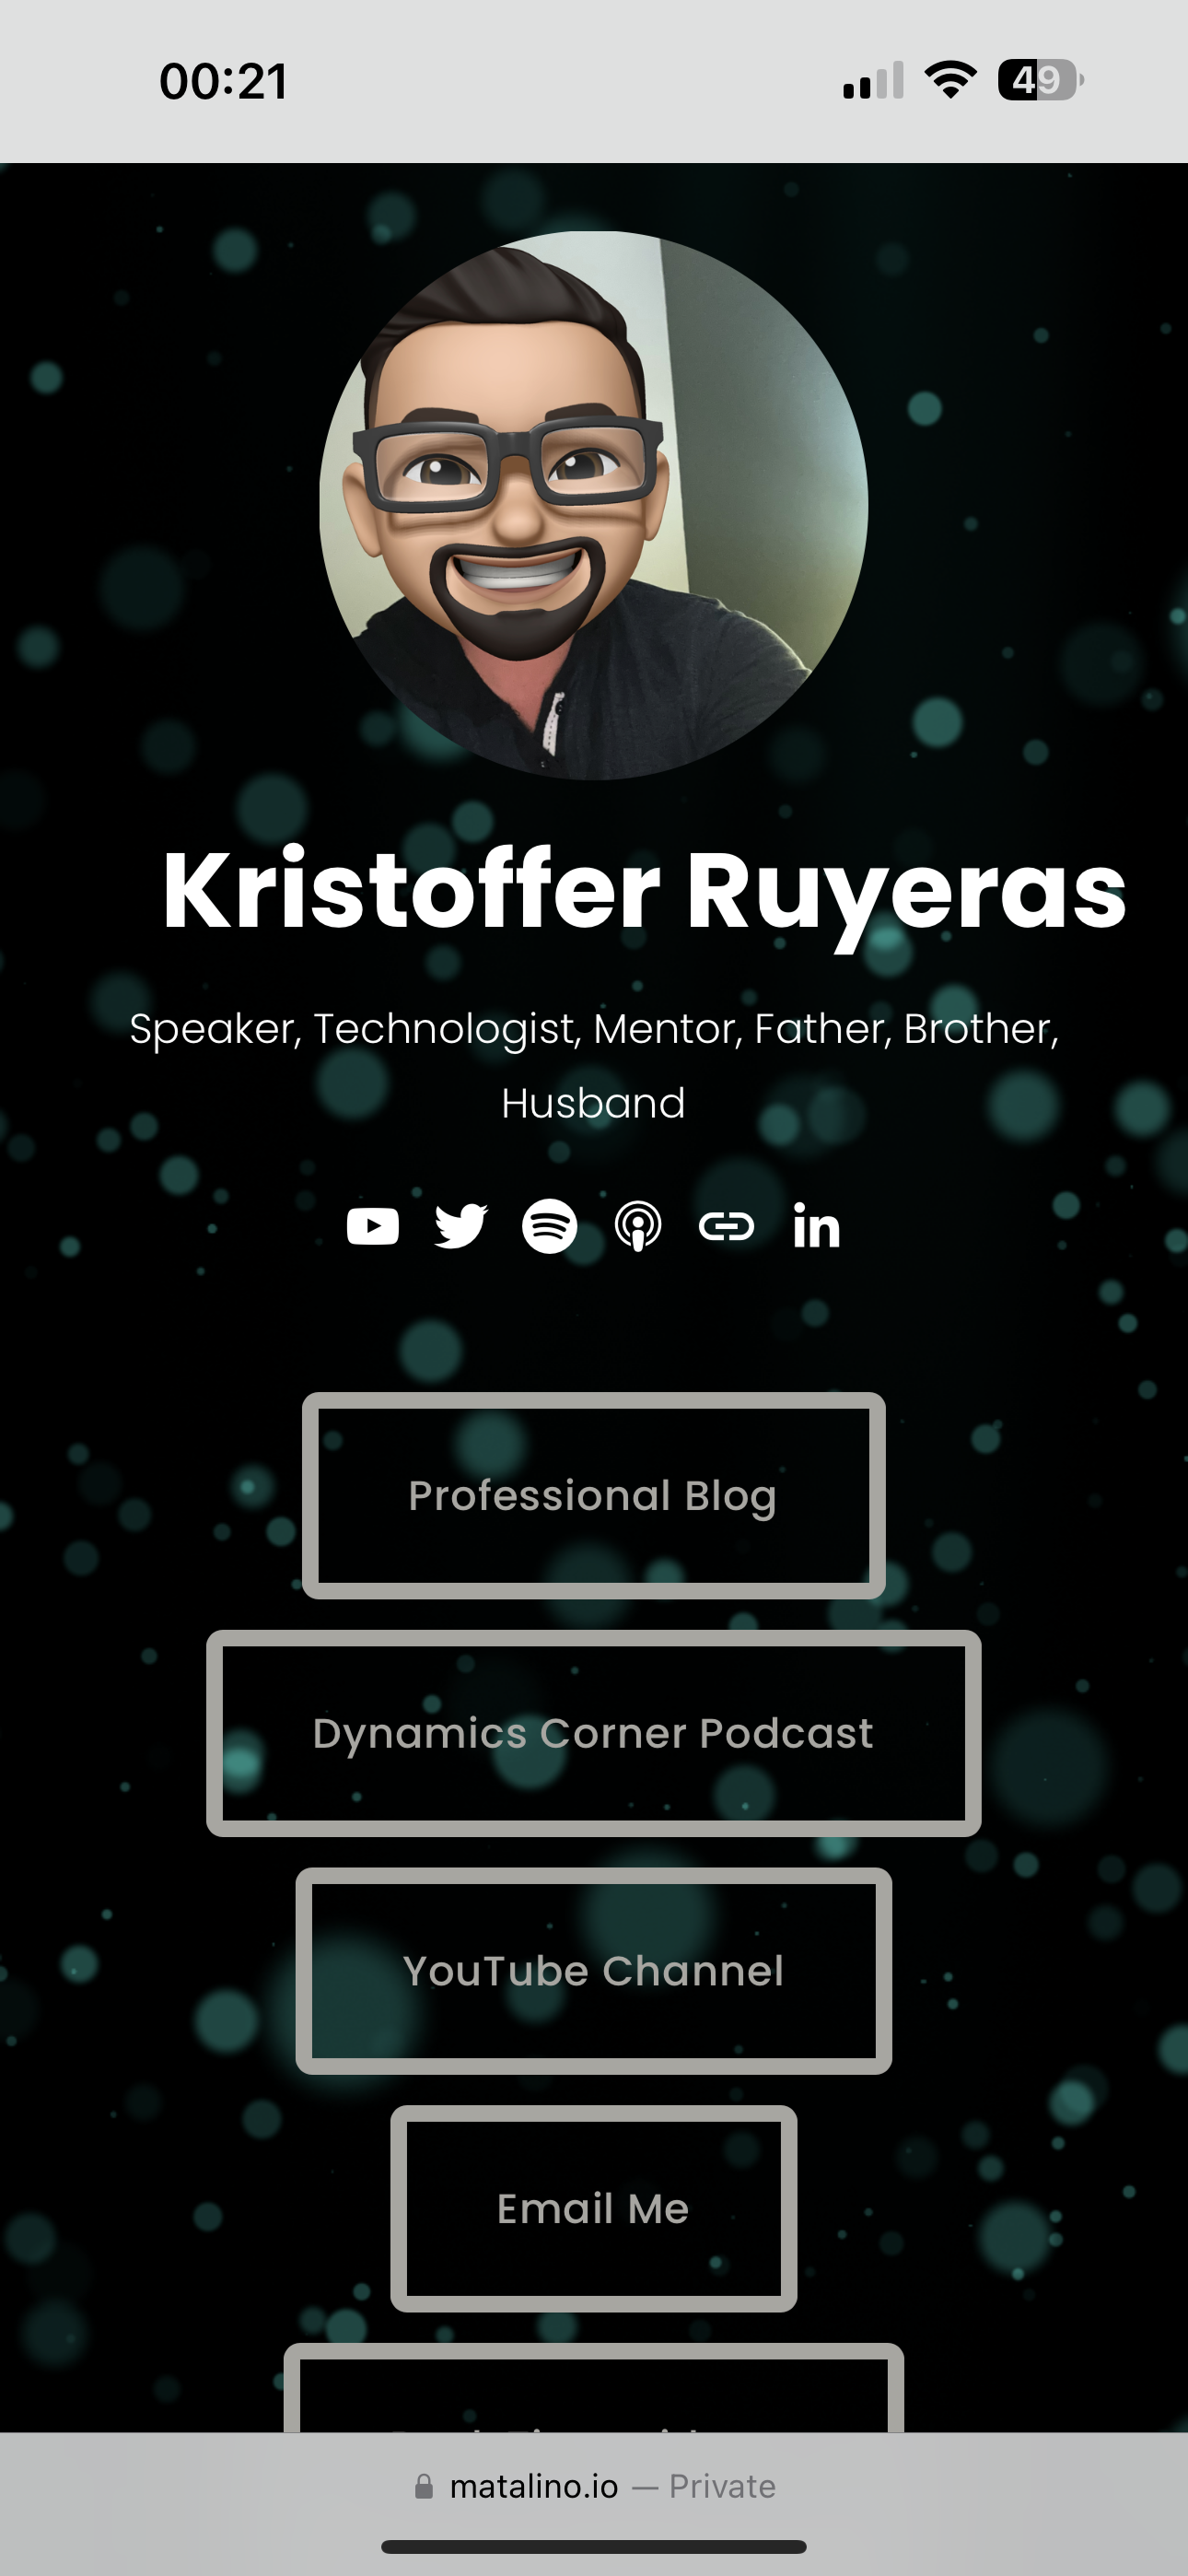
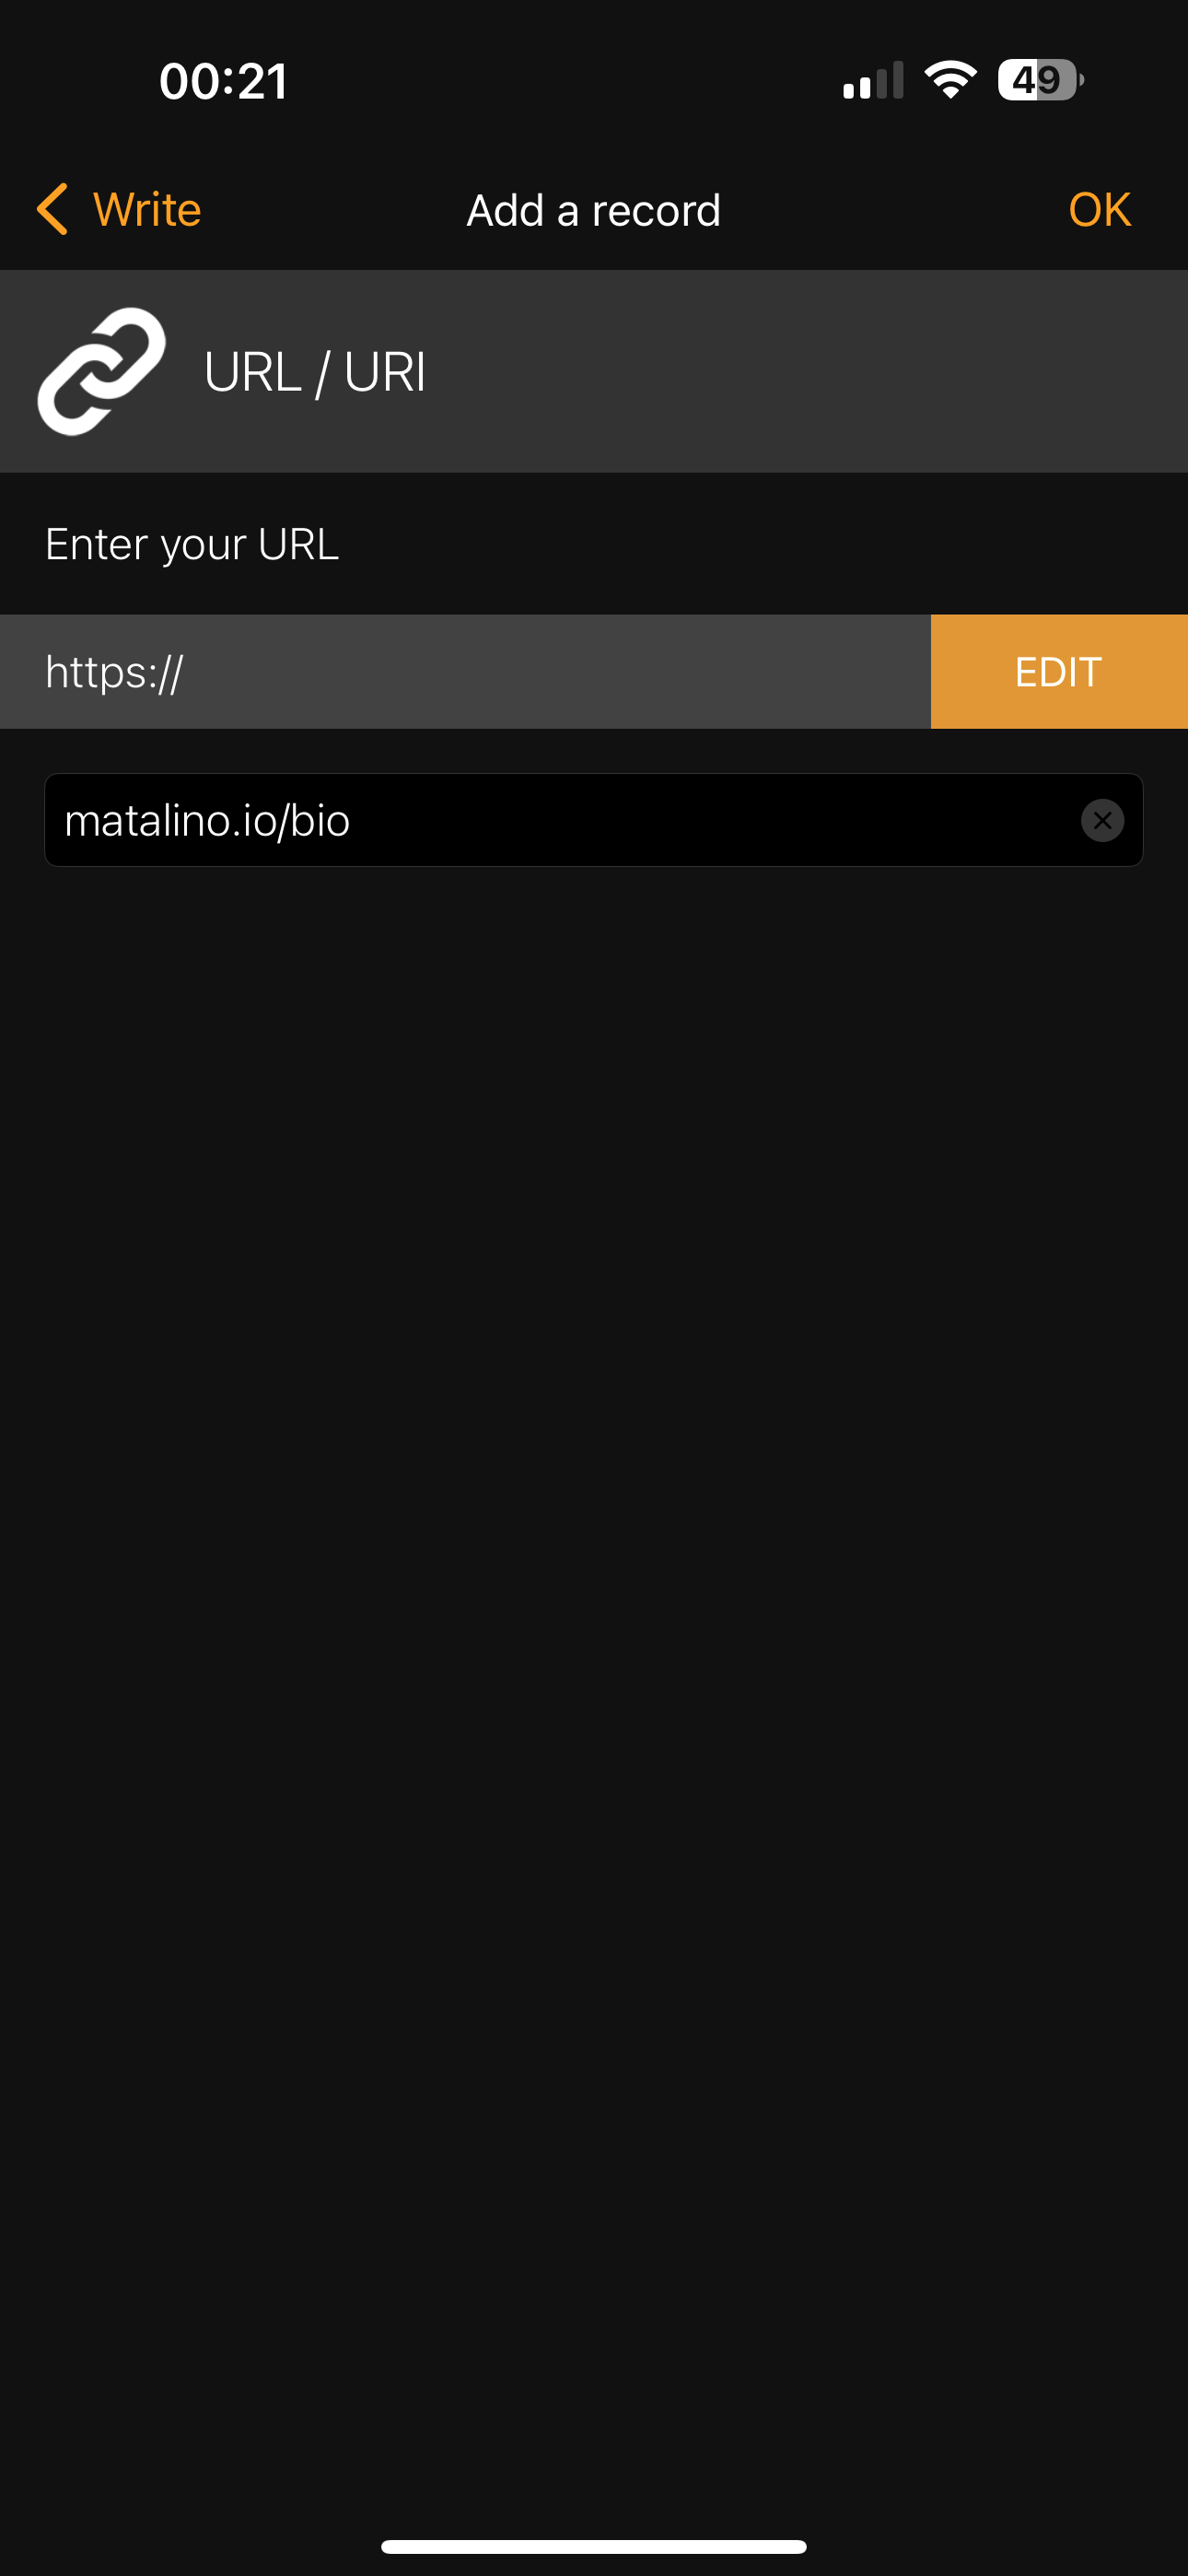
Enter the URL, in my example, it is https://matalino.io/bio and click OK.
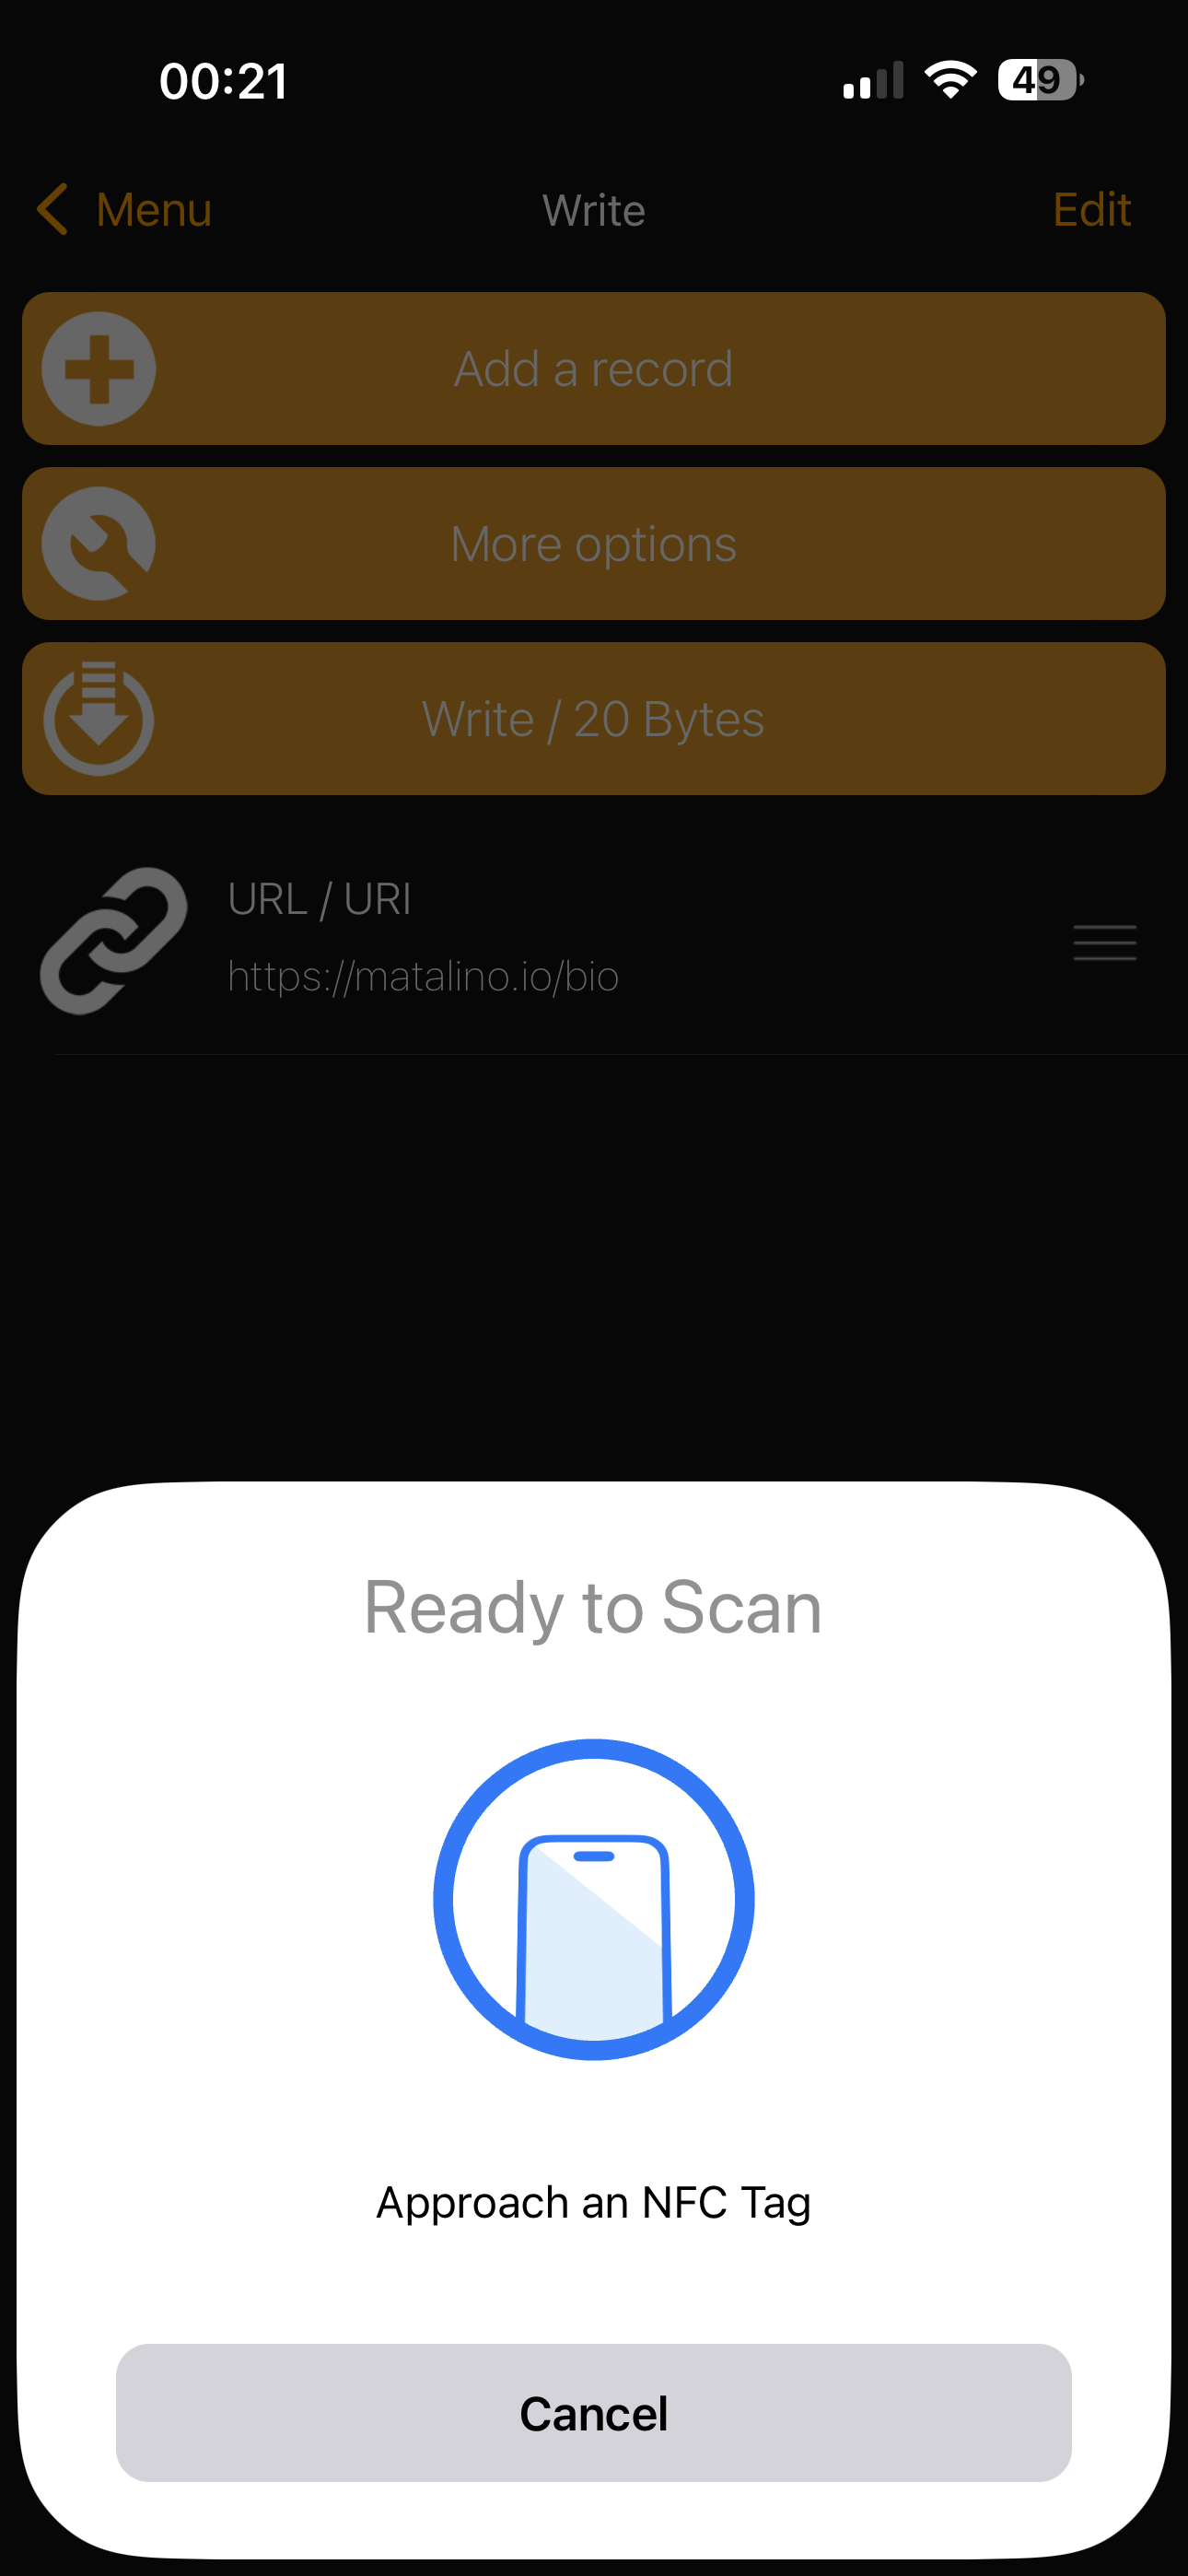
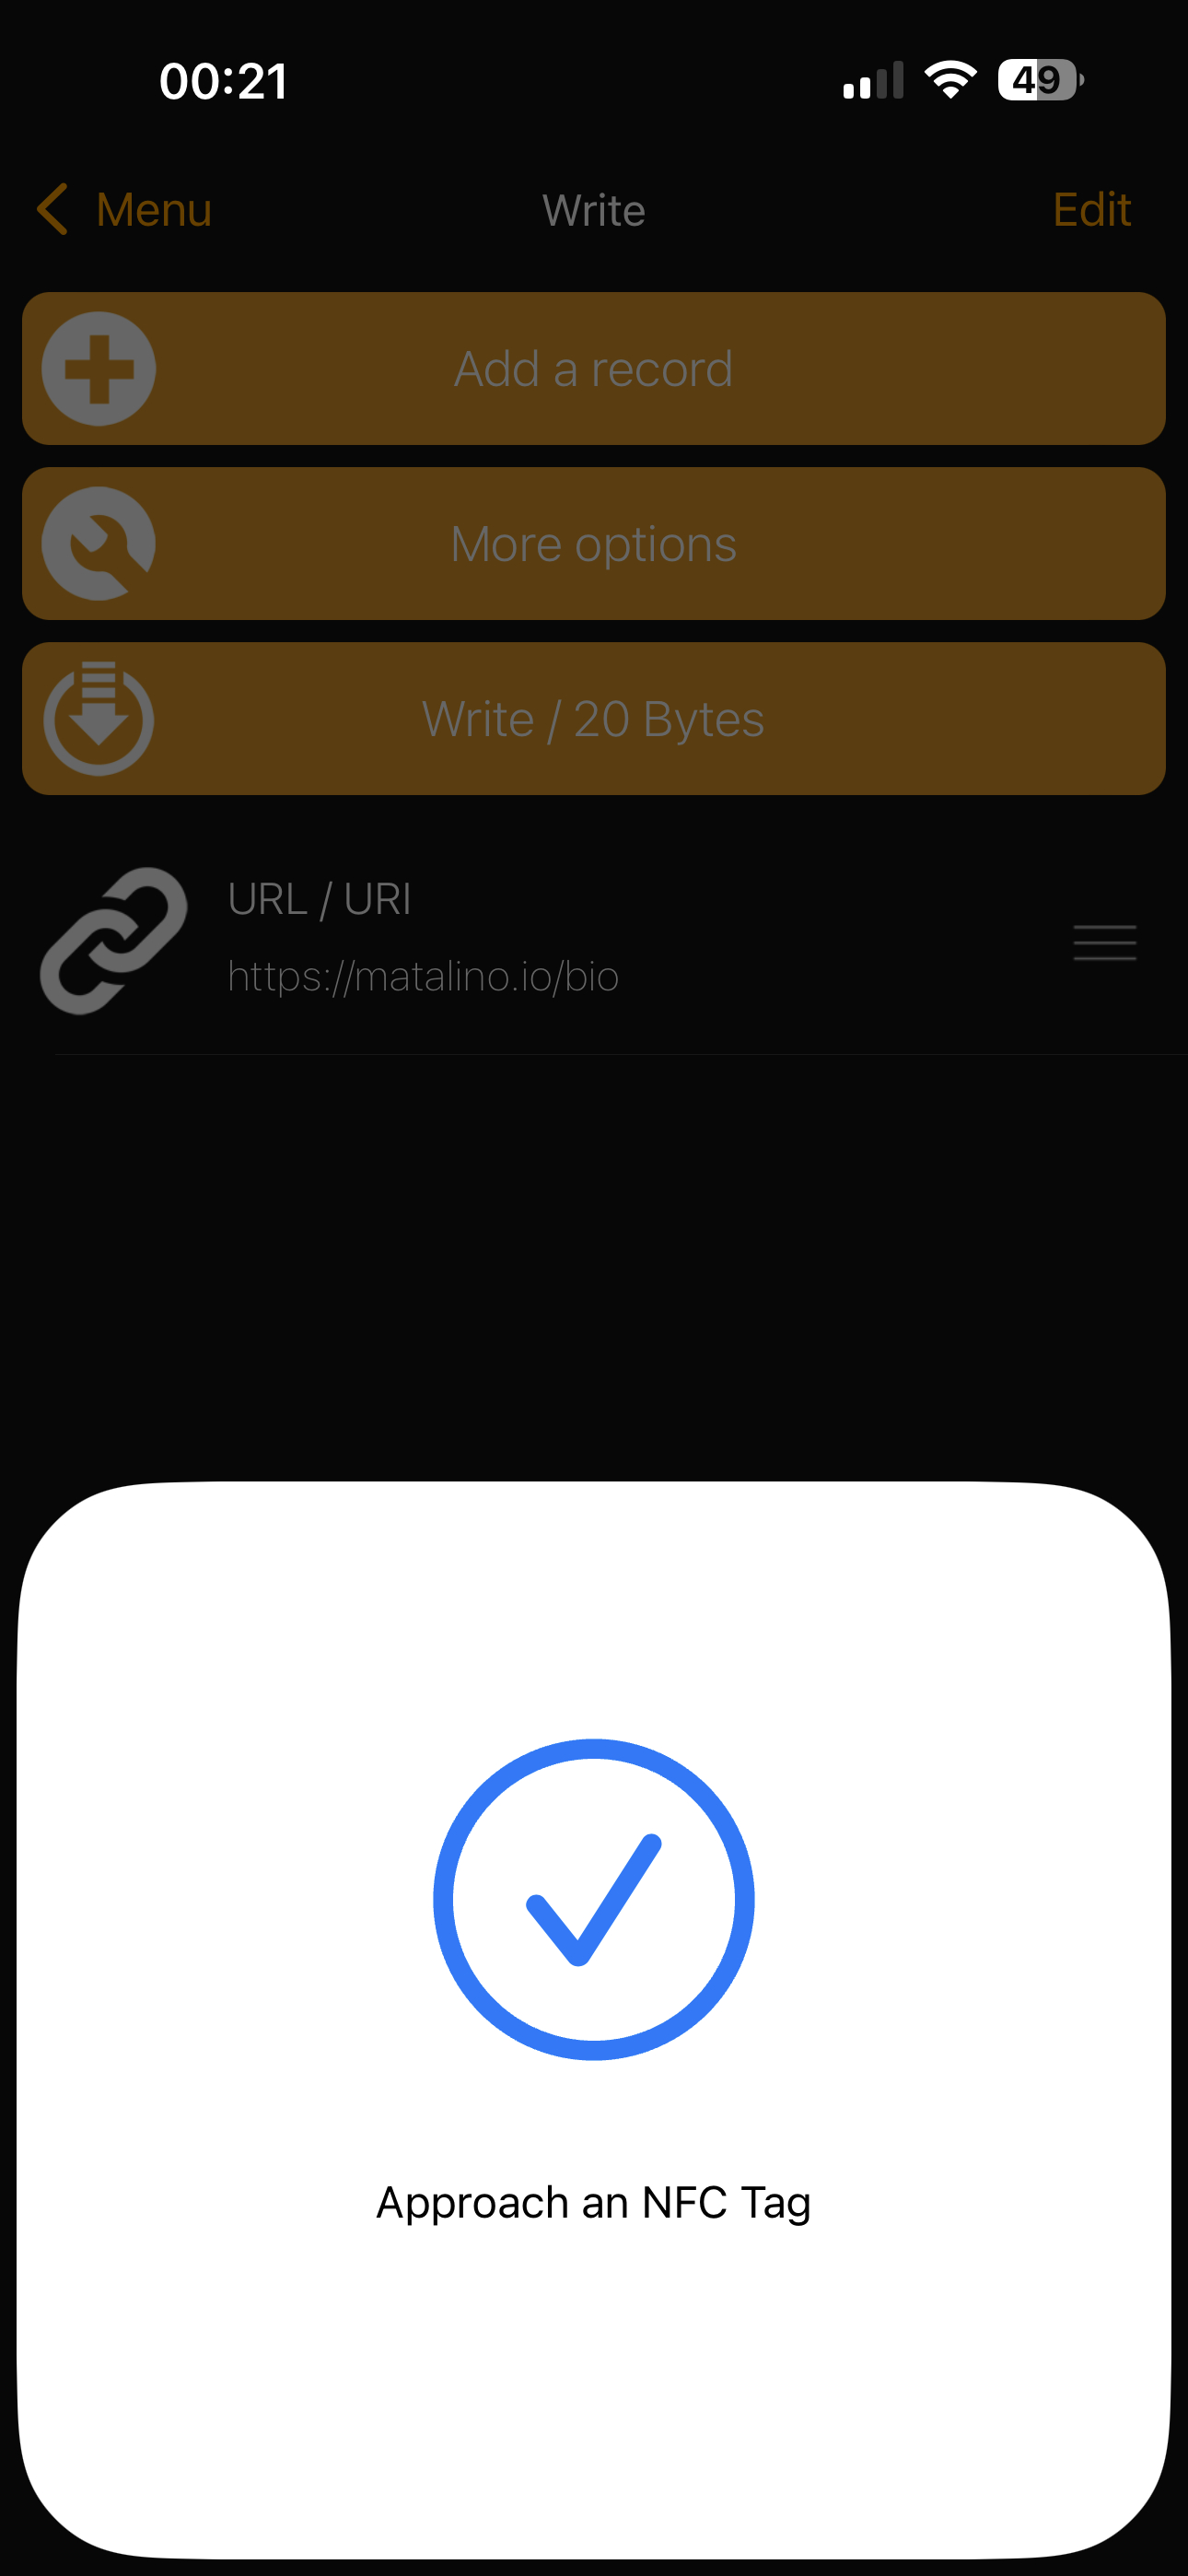
Then click “Write / 20 Bytes” and it will prompt you to place the NFC tag/card near your NFC reader, on iPhones, usually right above at the top of your iPhone. If you have an Android, it should be in the middle of the back of your Android phone. If done correctly, it will confirm that it is succesfful with a blue check mark.
That’s pretty much it! You can test it by placing the NFC card against your smartphone and it will provide you the results. In my case, since I referenced it to my Bio page, it notified me at the top that it will take me to a website.
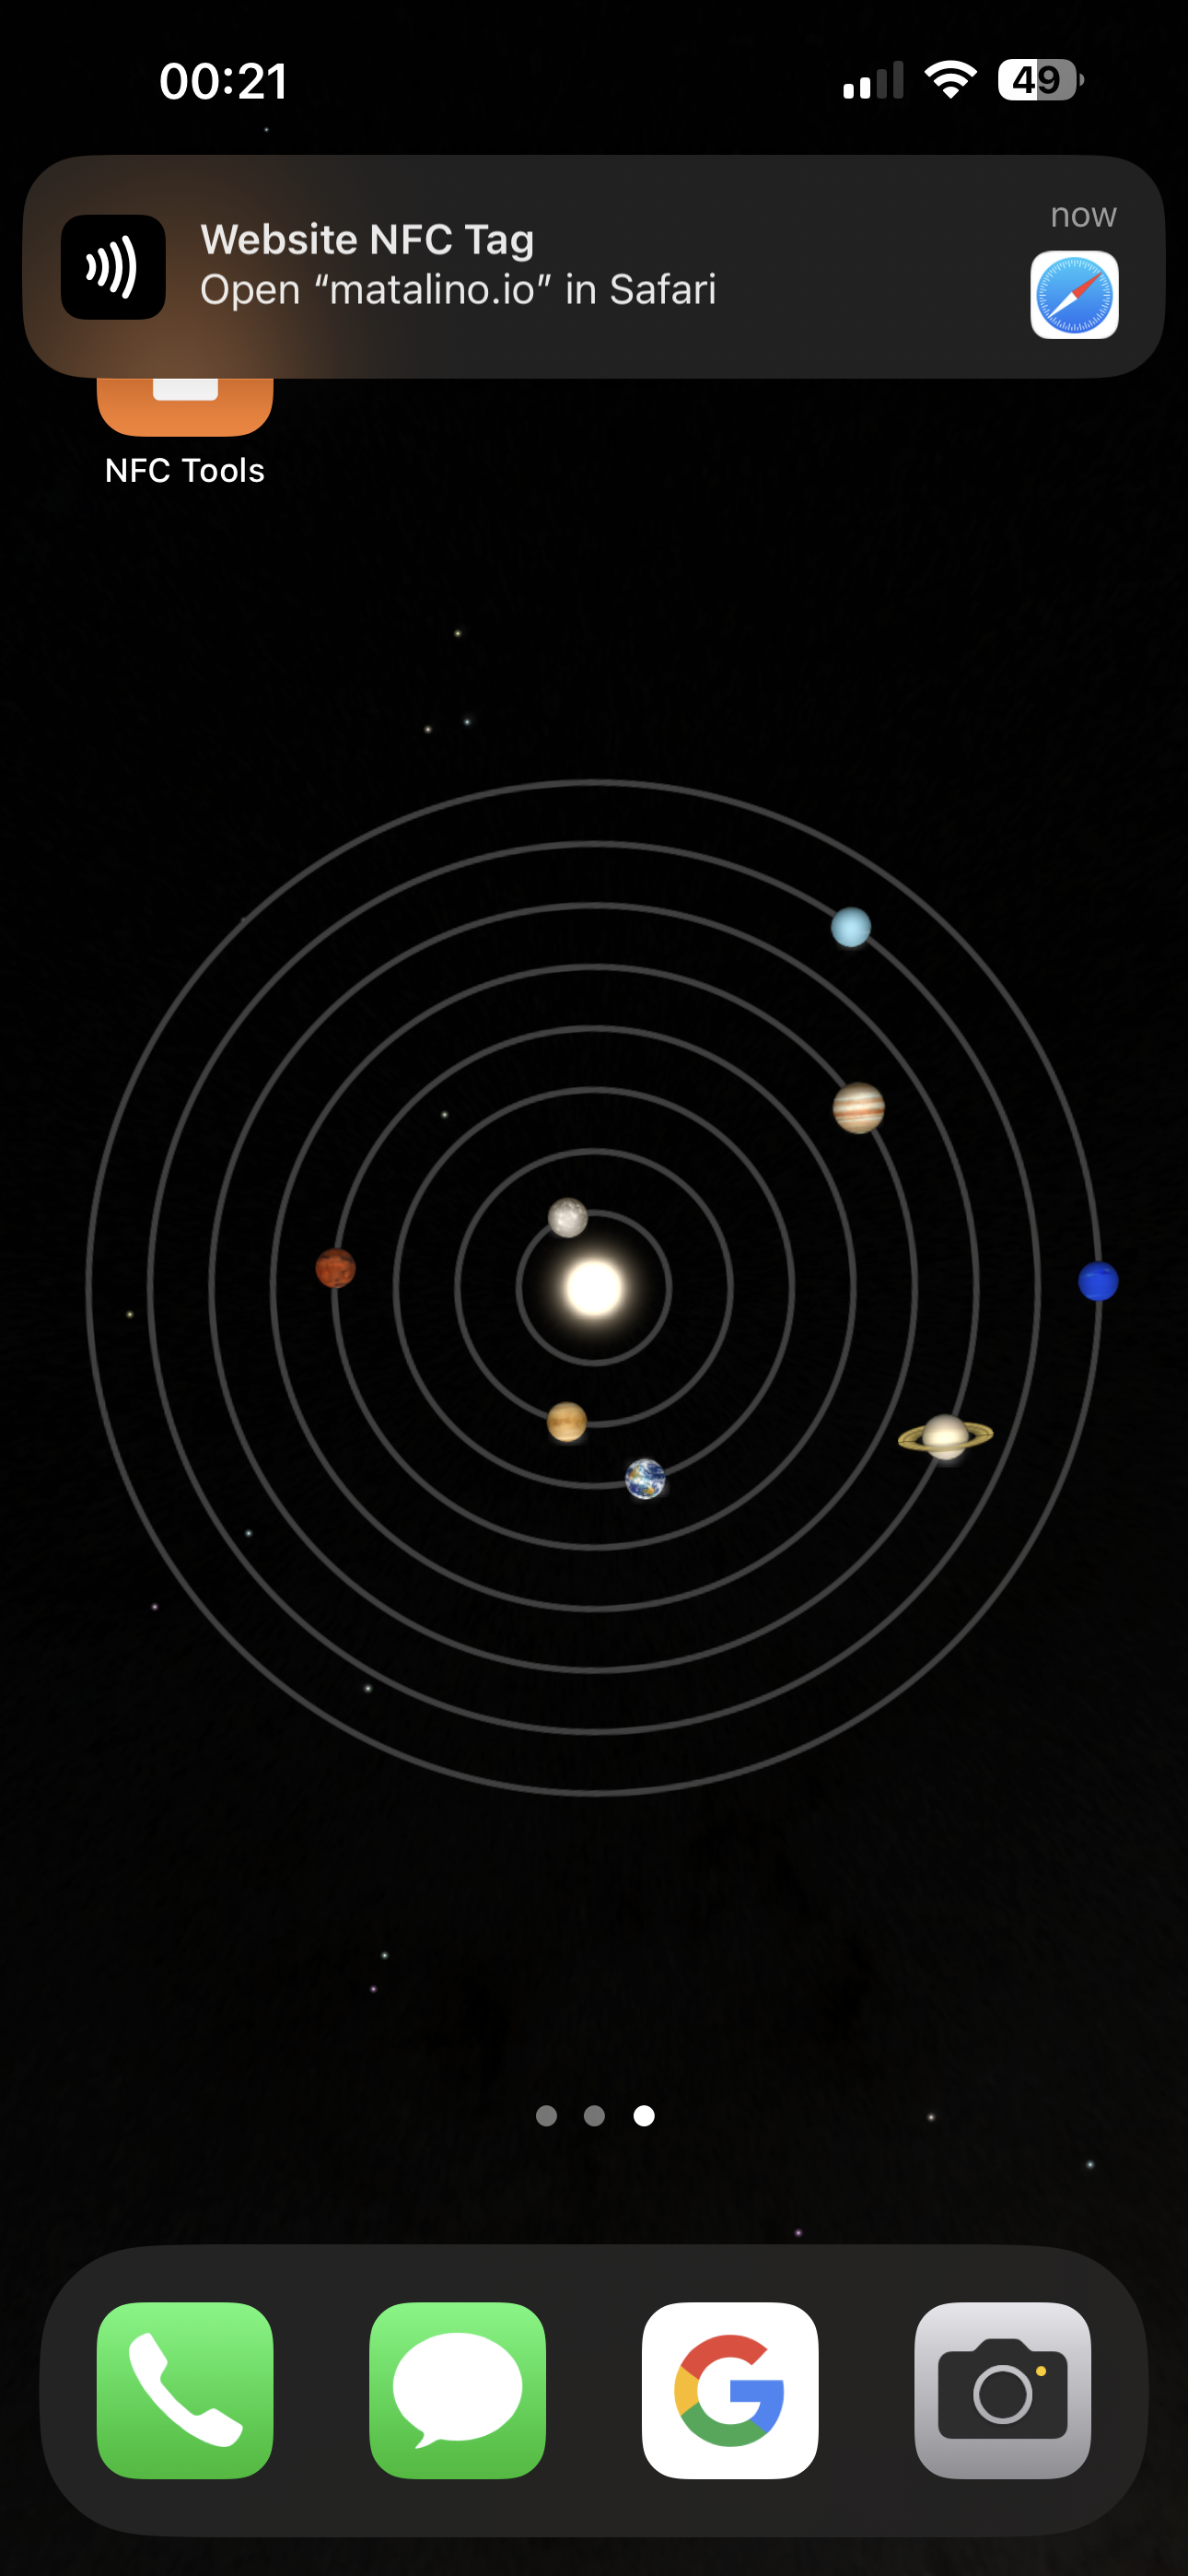
I was able to confirm that it is working! So why do you need a paper business card again? All my content, contact, and other things about me are in a single page. In my future blog, I will write up how you can create your own Bio page through your own website instead of driving traffic to a third-party app. Cheers and I hope you’ll find this useful and if you do, I would love to hear from you.